Loading filament
Prepare filament
I recommend making your first print using PLA. It's an easier material to print with and a small spool of PLA filament is included with the SV06 Plus.
Place the roll of filament you'd like to print with onto the printer's spool holder. Make a clean cut near the end of the filament, at a ~45° angle.

Position extruder
Turn on the printer.
Loading filament is best done some space between the nozzle and print bed. If the extruder is all the way at the bottom, the extruder should be raised using the LCD controls. On the movement menu on the LCD, tap the +Z button a few times to raise the extruder.
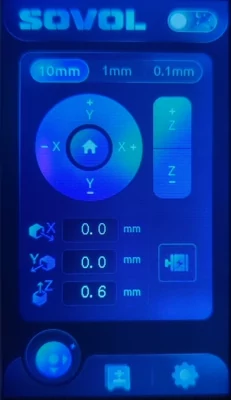
Alternatively, a specific Z value can be entered manually. The extruder will then move to the selected height.
Filament loading methods
There are two ways turn the extruder to load filament. The extruder can be turned by hand after unlocking the motor, or turned a specific amount using the LCD menu.
Loading with LCD controls
Heat the nozzle
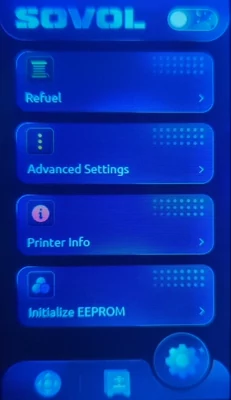
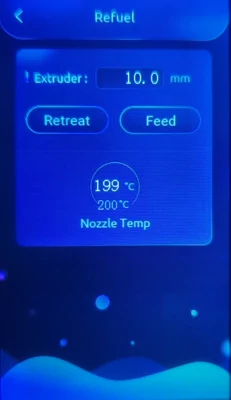
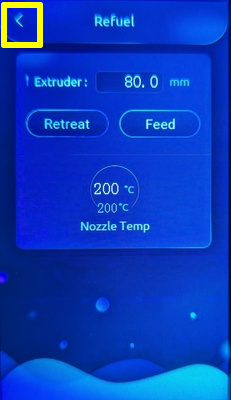
On the LCD's main menu, tap the gear icon in the bottom row, and then tap Refuel.
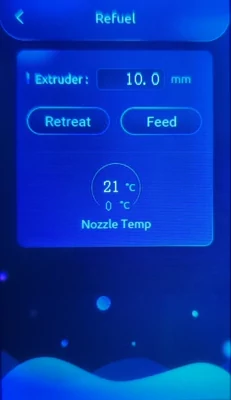
On this menu, you can tell the extruder to turn backwards or forwards to remove or add filament.
Tap the Feed button. Since the nozzle heater is off, the printer will prompt you to preheat the nozzle to 200°C. Tap Yes, and wait for the nozzle to heat up.
Next step
If no filament is already loaded, continue reading at Insert filament.
Remove filament
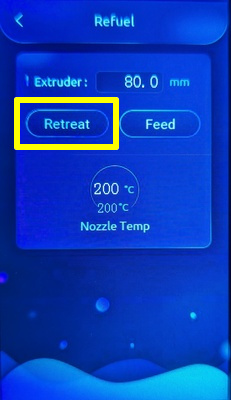
I find 80mm is a good distance value to use for loading and unloading filament, but you can always extrude more (or less) if this value doesn't fully load or unload filament. The default distance value is 10mm which is very short. Enter a longer distance value.
Tap the Retreat button. The extruder motor will turn counterclockwise and start to raise the filament from the extruder.
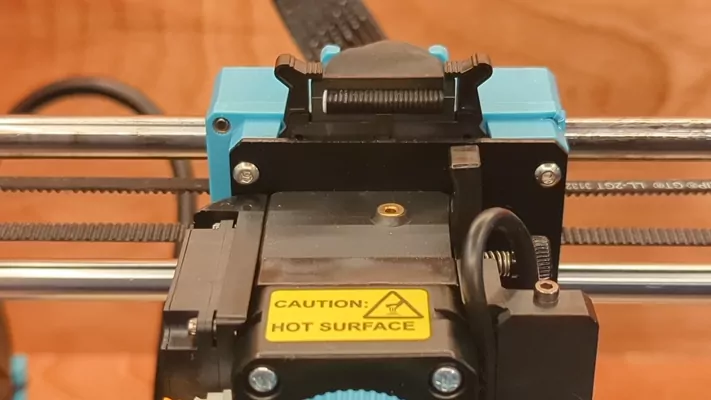
Gently try to lift the filament from the extruder, but don't pull hard enough for the filament to break apart (this can cause a clog). If the filament does not lift out of the extruder when the extruder stops turning, then the extruder needs to turn backwards more to release the filament. In this case, tap Retreat again to repeat the process.
Note
If the filament lifts a little but still feels stuck in the extruder, tap Retreat again to continue turning the extruder backwards. Sometimes filament releases in segments, so be careful not to pull them apart and leave some filament in the extruder.
Once the filament is removed from the extruder, snip off the end so it is ready for next time. Then, clip or secure the filament spool so it won't unwind in storage.
Insert filament
Guide this end of the filament through the filament runout sensor, and then down into the extruder's filament input on the top until you feel the filament stop moving.
I find 80mm is a good distance value to use for loading and unloading filament, but you can always extrude more (or less) if this value doesn't fully load or unload filament. The default distance value is 10mm which is very short. Enter a longer distance value.
Tap the Feed button again. The extruder motor will turn clockwise and start to draw in the filament.
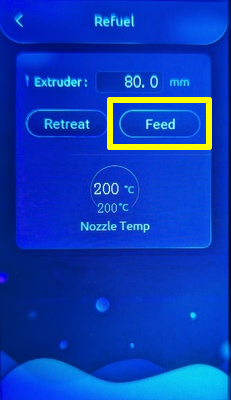
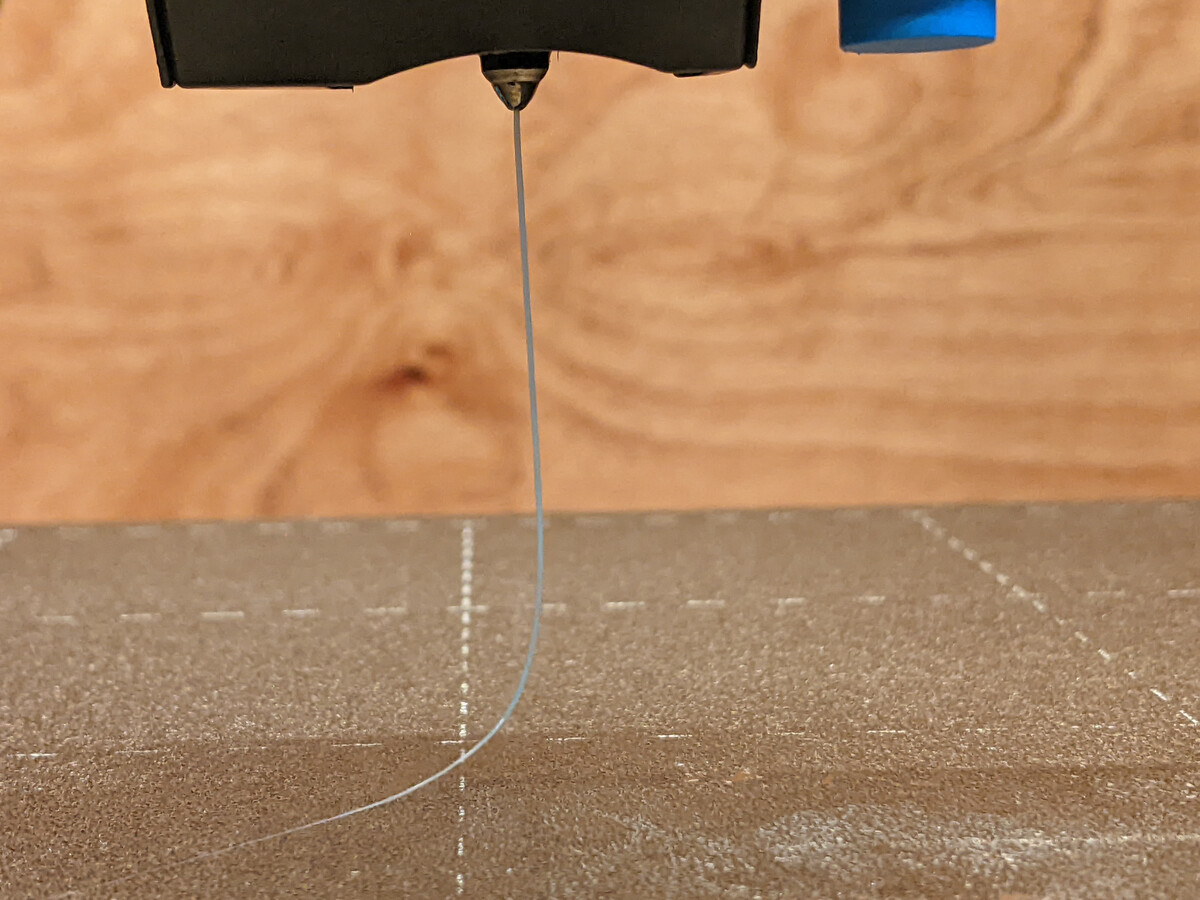
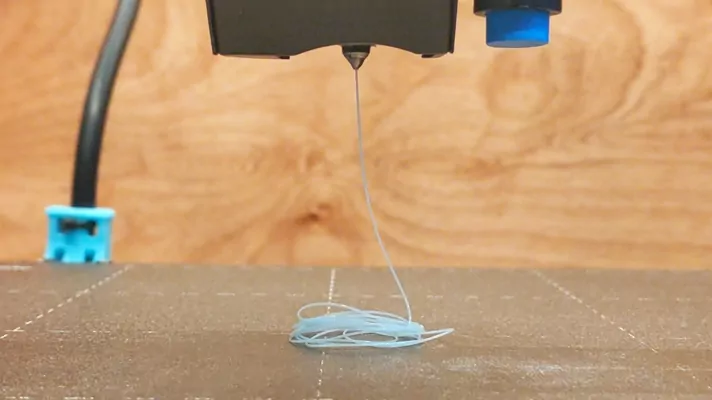
After a few moments, filament should start coming out of the heated nozzle on the bottom of the extruder.
If the extruder stops turning before filament comes out of the nozzle, then the extruder needs to turn forwards more to push the filament through the nozzle. In this case, tap Feed again to repeat the process.
Next step
Continue reading at Remove excess.
Loading filament manually
Heat the nozzle
On the LCD's main menu, tap the nozzle temperature display to open the temperature controls. Select the nozzle temperature and enter 210°C. The nozzle will begin to heat. Tap < to return to the main menu.

Unlock extruder motor
The printer's stepper motors, including the extruder's motor, normally hold their position so the printer's firmware stays in sync with its actual position on each axis.
To load filament manually, the motors must be disengaged, or unlocked.
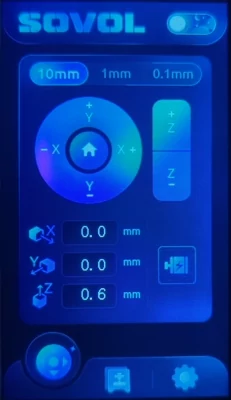
Tap the movement icon on the bottom left corner of the LCD. On this menu, tap the extruder icon to unlock the motors.
Warning
After the motors are unlocked, the printer's position state can get out of sync. Use the Home () button to reset the printer before using any of the other movement controls on the LCD.

Next step
If no filament is already loaded, continue reading at Insert filament.
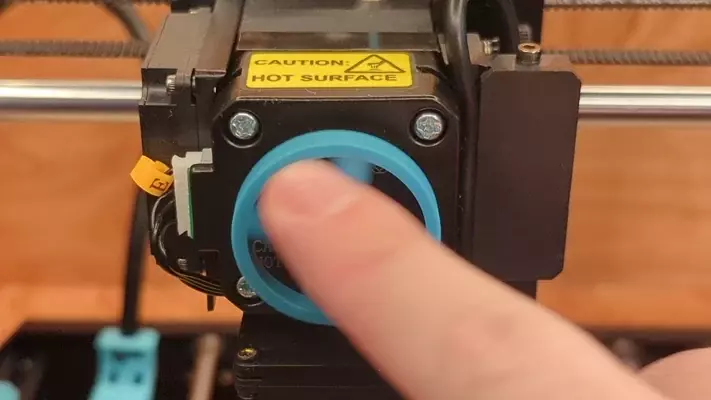
Turn extruder wheel backward
Turn the extruder wheel counterclockwise with your finger. The extruder will begin to raise the filament out of the top.
Remove filament
Gently try to lift the filament from the extruder, but don't pull hard enough for the filament to break apart (this can cause a clog). If the filament does not lift out of the extruder, continue turning the extruder wheel counterclockwise with your finger until the filament releases.
Note
If the filament lifts a little but still feels stuck in the extruder, continue turning the extruder wheel counterclockwise to release the rest of the filament. Sometimes filament releases in segments, so be careful not to pull them apart and leave some filament in the extruder.
Once the filament is removed from the extruder, snip off the end so it is ready for next time. Then, clip or secure the filament spool so it won't unwind in storage.
Insert filament
Guide this end of the filament through the filament runout sensor, and then down into the extruder's filament input on the top until you feel the filament stop moving.
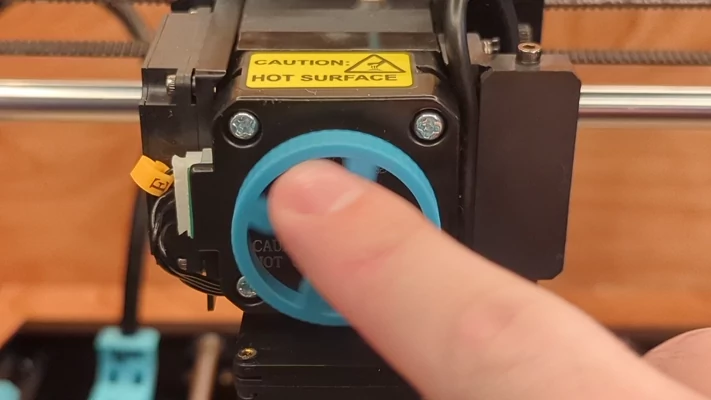
Turn extruder wheel forward
Turn the extruder wheel clockwise with your finger. The extruder will begin to draw in the filament.
After a few moments, filament should start coming out of the heated nozzle on the bottom of the extruder.
Remove excess
After filament comes out of the nozzle and the extruder stops turning, filament is loaded and ready to print! Being very careful not to touch the hot nozzle, you can reach in to remove the piece of dangling filament so it doesn't get in the way when you print.
Tap the < button on the LCD to return to the main menu.
Warning
If you decide not to print after loading filament, be sure to turn off the nozzle heater from the main menu using the temperature controls.