PrusaSlicer first-time configuration wizard
Tip
Click any of the screenshots for a full-size or zoomable view.
When Starting PrusaSlicer for the first time, a configuration wizard appears:
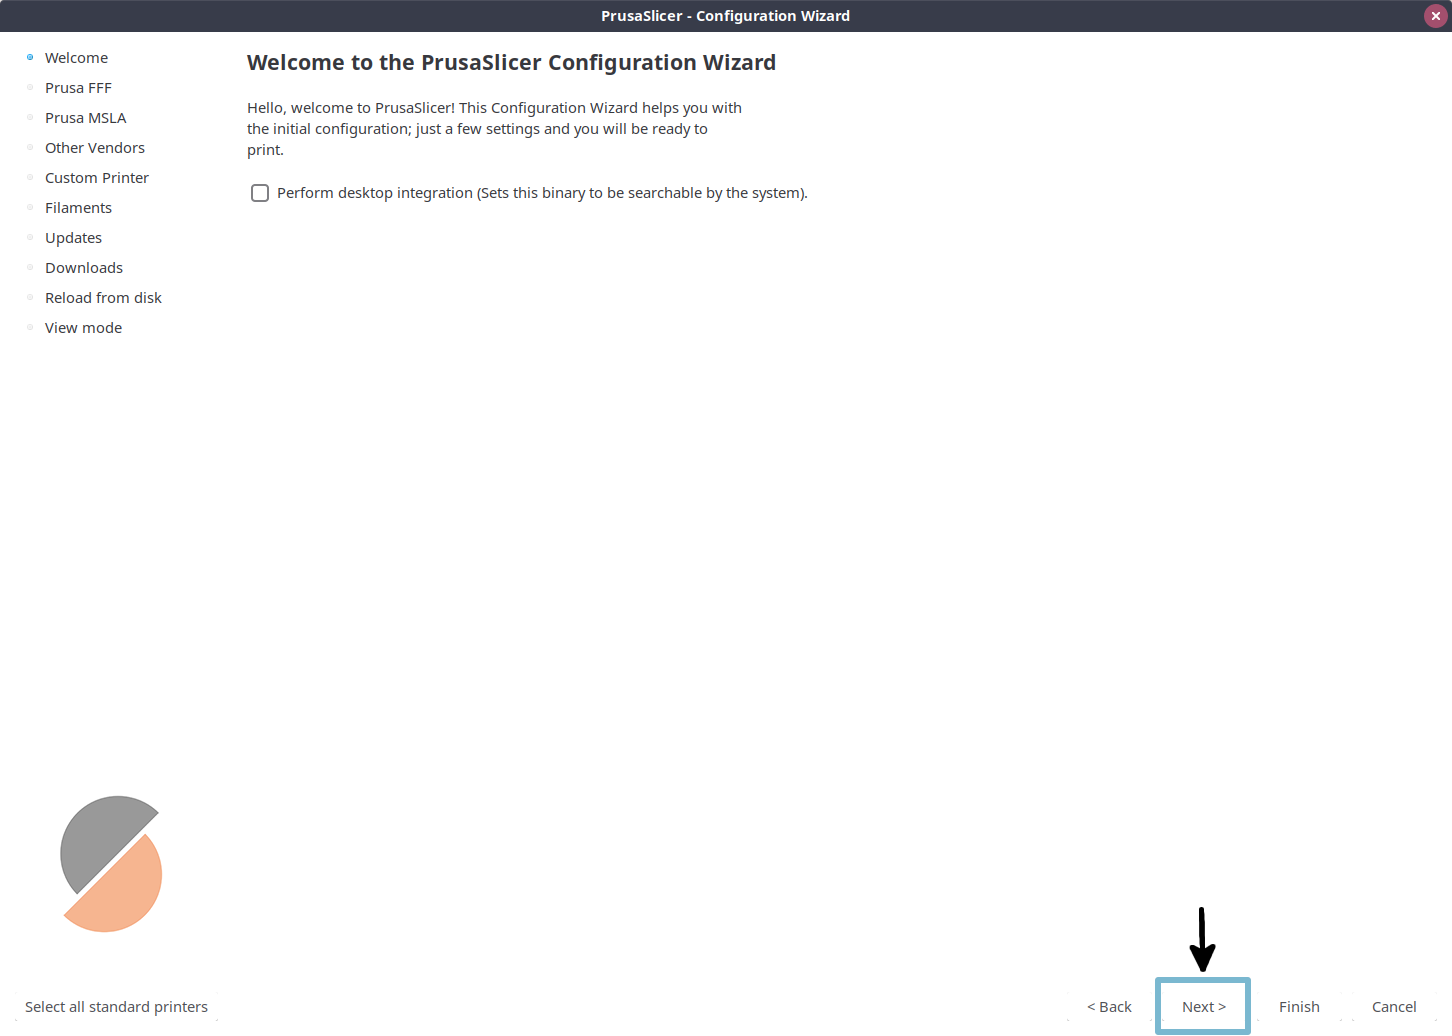
Click Next at the bottom to proceed through the wizard.
Printer selection
The first several pages in the configuration wizard lead you through the supported printers. By default, a Prusa printer preset is selected. Uncheck the checkbox under Original Prusa MK4 Input Shaper, and click Next to continue.

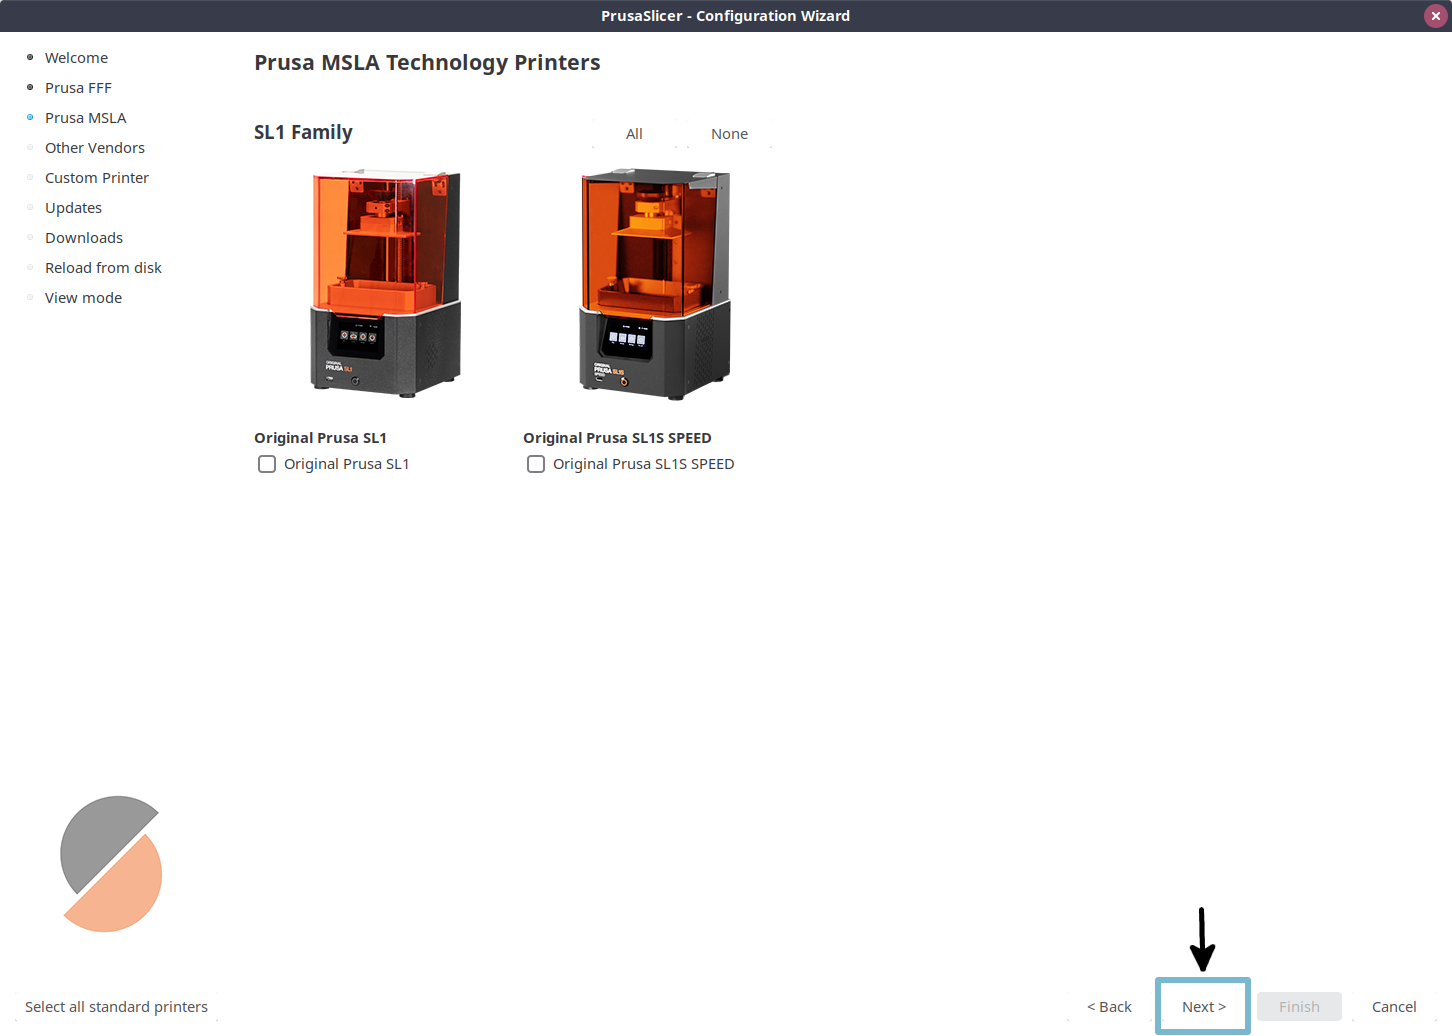
The next page provides options for Prusa SLA (resin) printers. Leave these unchecked and click Next.
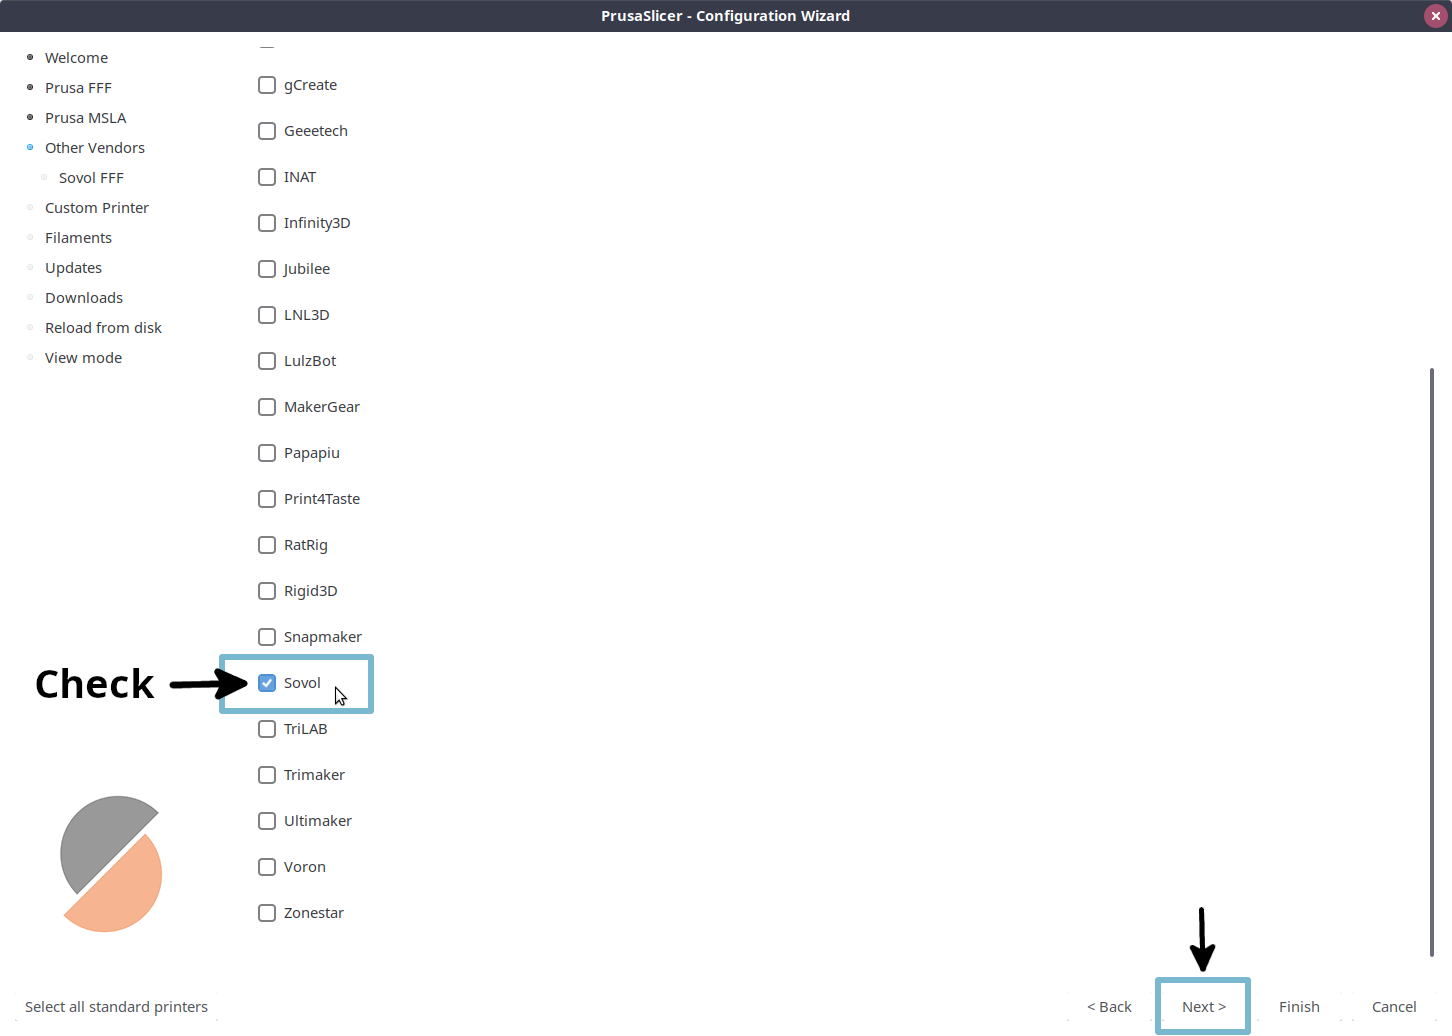
Then, the configuration wizard provides options for selecting printers from other brands. The SV06 Plus is made by Sovol, so scroll down in the vendors list and click the Sovol checkbox. Then, click Next.
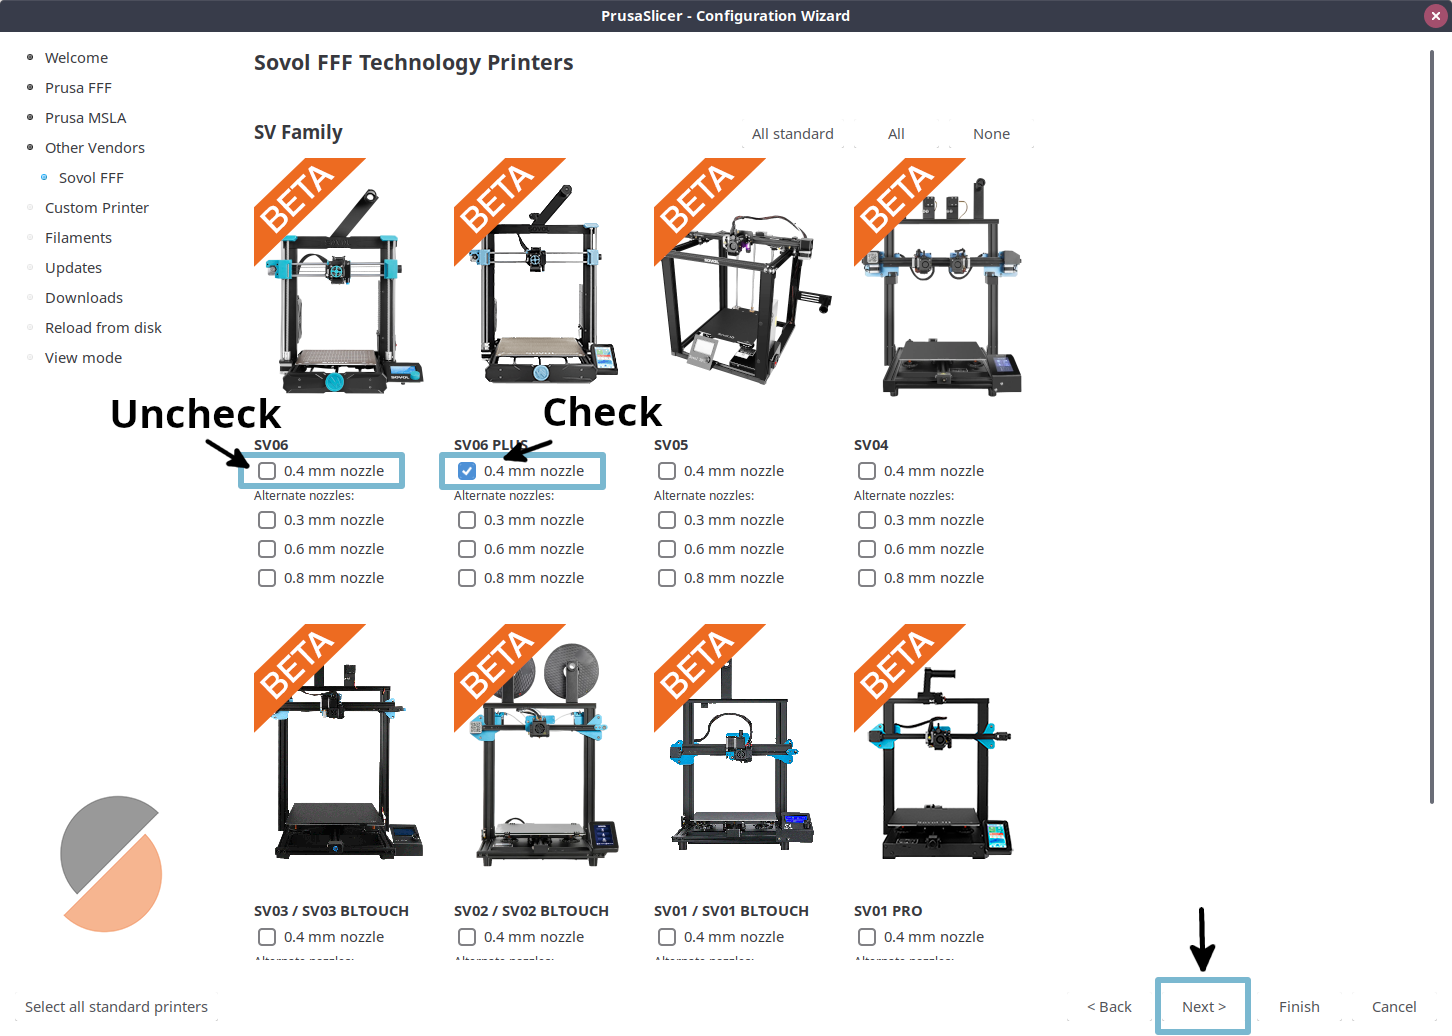
Now the configuration wizard provides options for selecting Sovol printers. By default, a SV06 preset is selected. Uncheck the SV06 checkbox, and then check the SV06 Plus 0.4mm nozzle checkbox. Then, click Next.
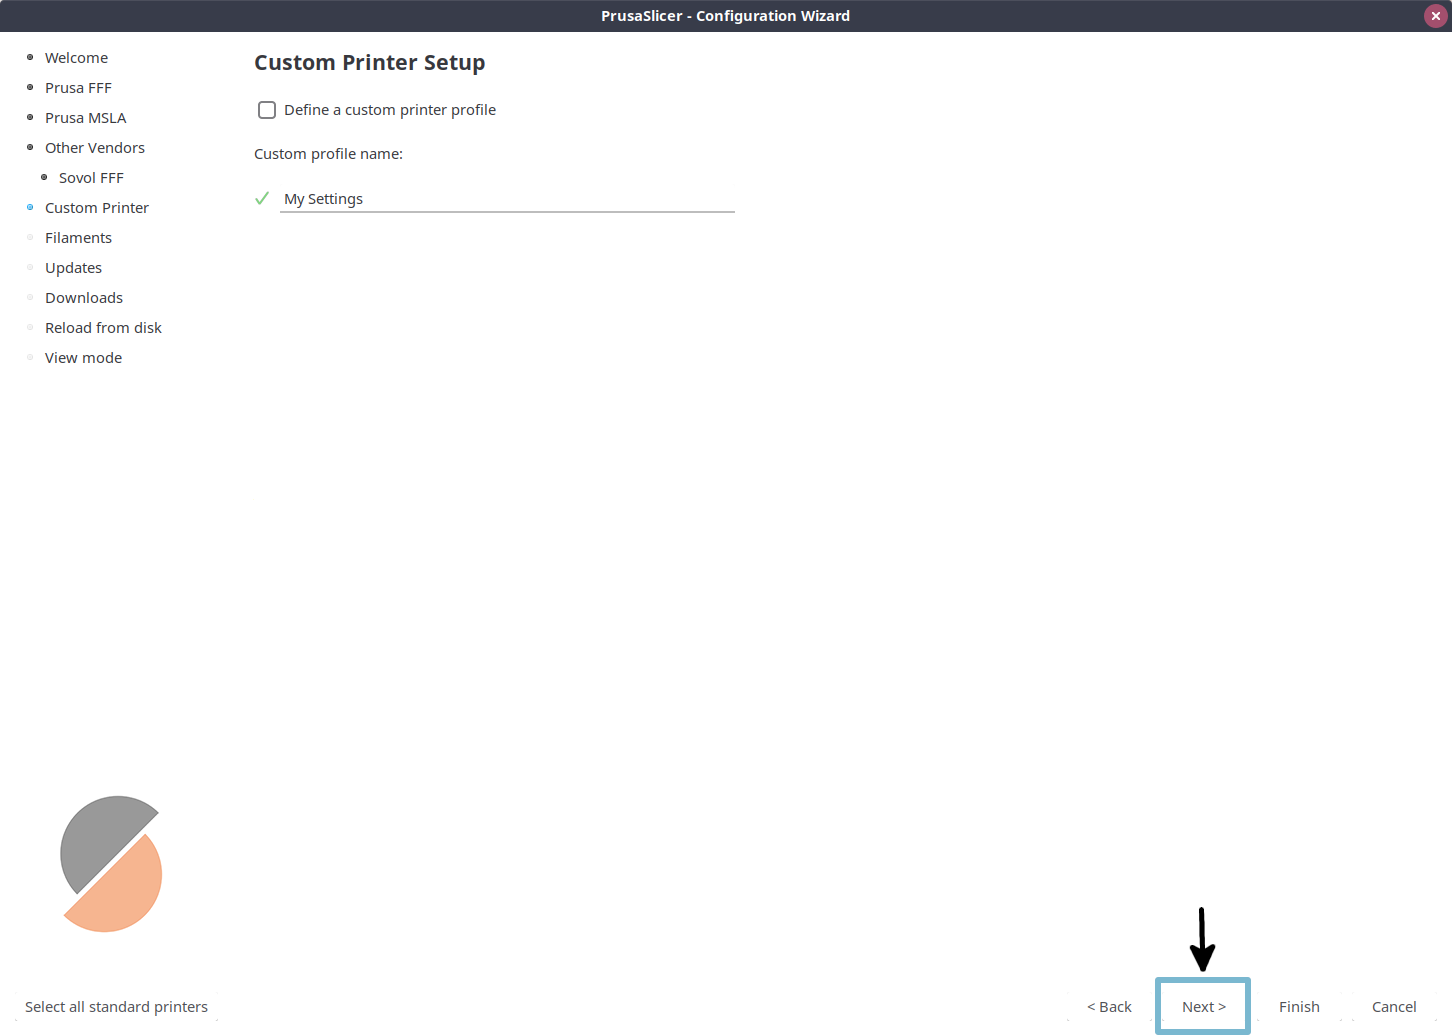
The last printer selection page in the configuration wizard offers to provide a custom printer profile. Since there is a built-in preset for the SV06 Plus, a custom profile is not needed. Click Next.
Filament profiles
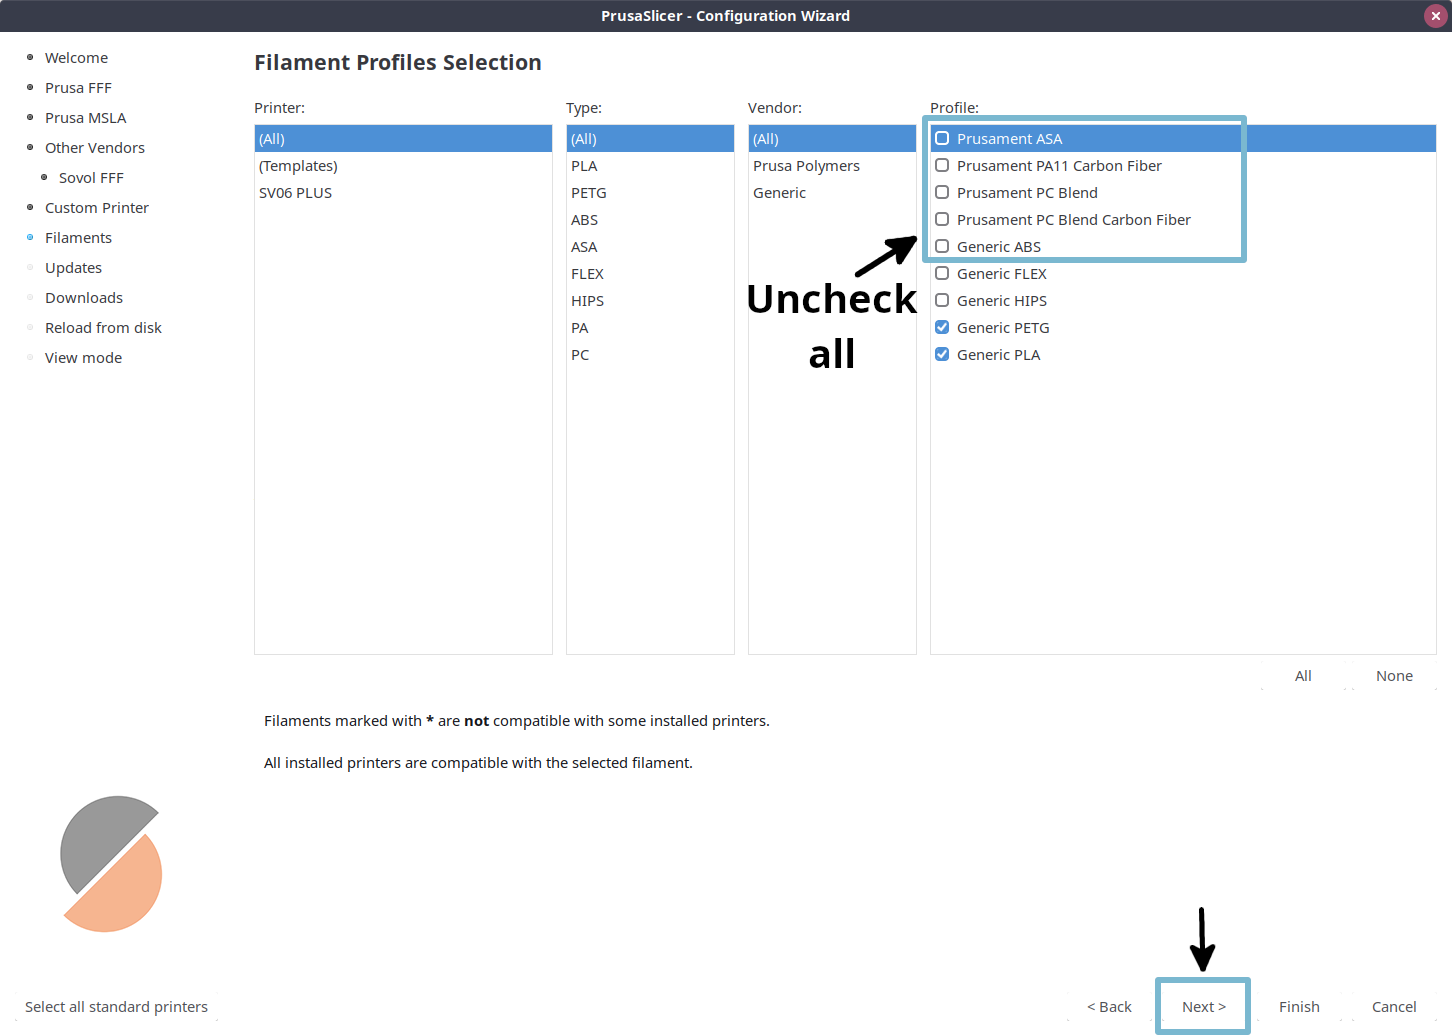
PrusaSlicer has both generic presets for various printing materials as well as specific presets for specific filaments. I have had good success using the generic profiles. PLA and PETG are common filaments, so start with the generic filament profiles for each. Uncheck the other preselected filaments in the Filament Profiles Selection wizard page, and then click Next.
Automatic updates
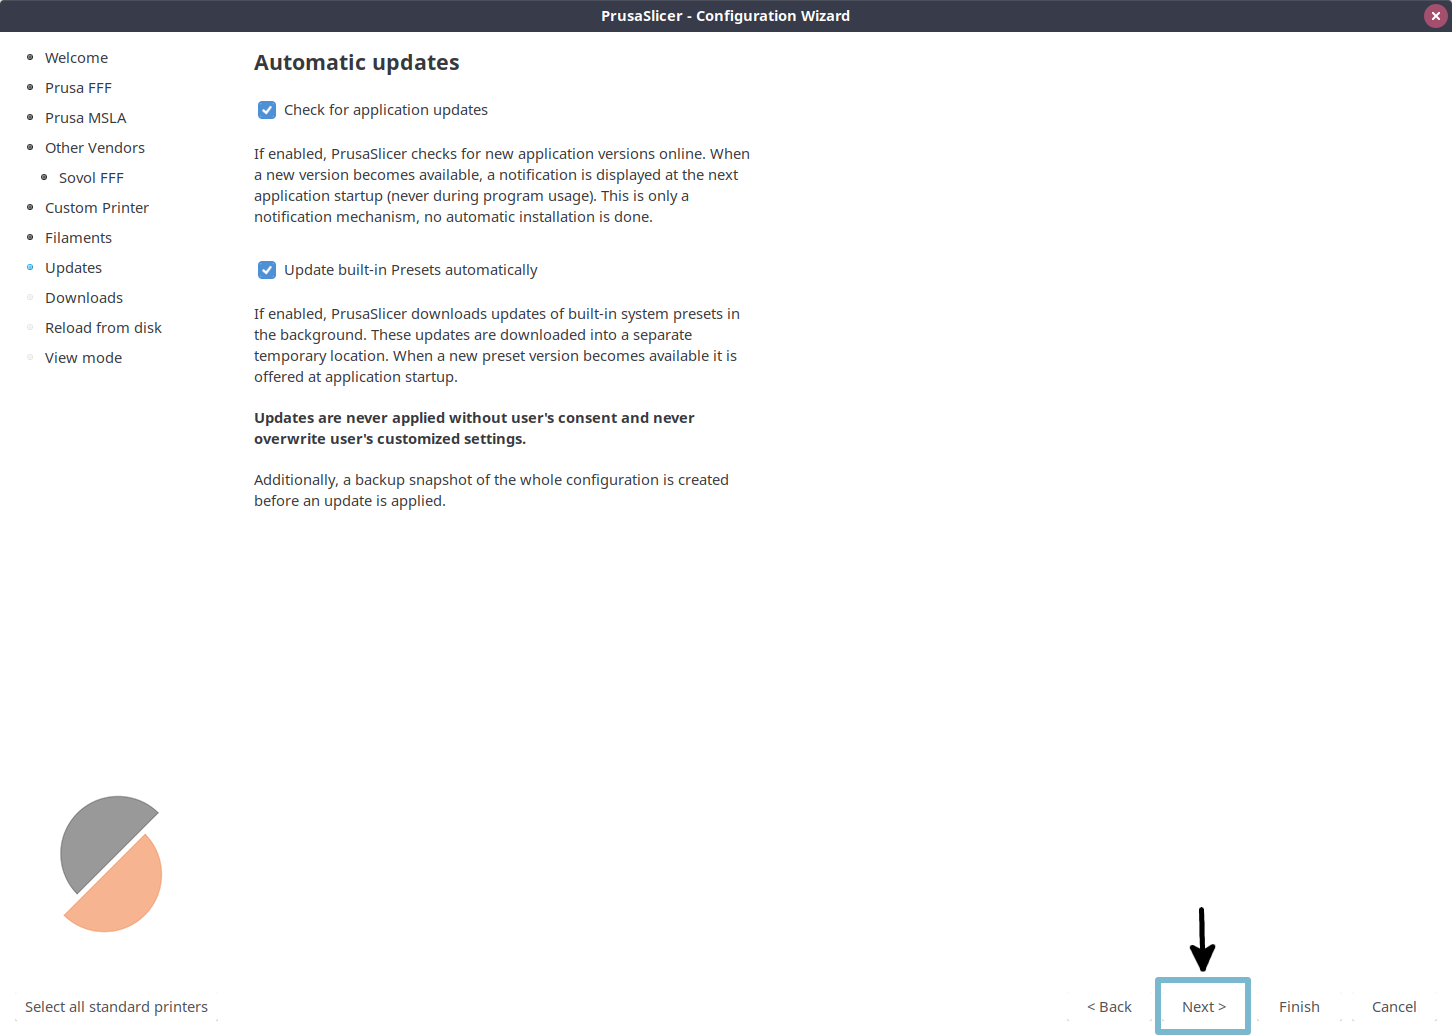
PrusaSlicer will check for application and configuration preset updates by default. I recommend leaving these checked. Click Next to continue.
Optional settings
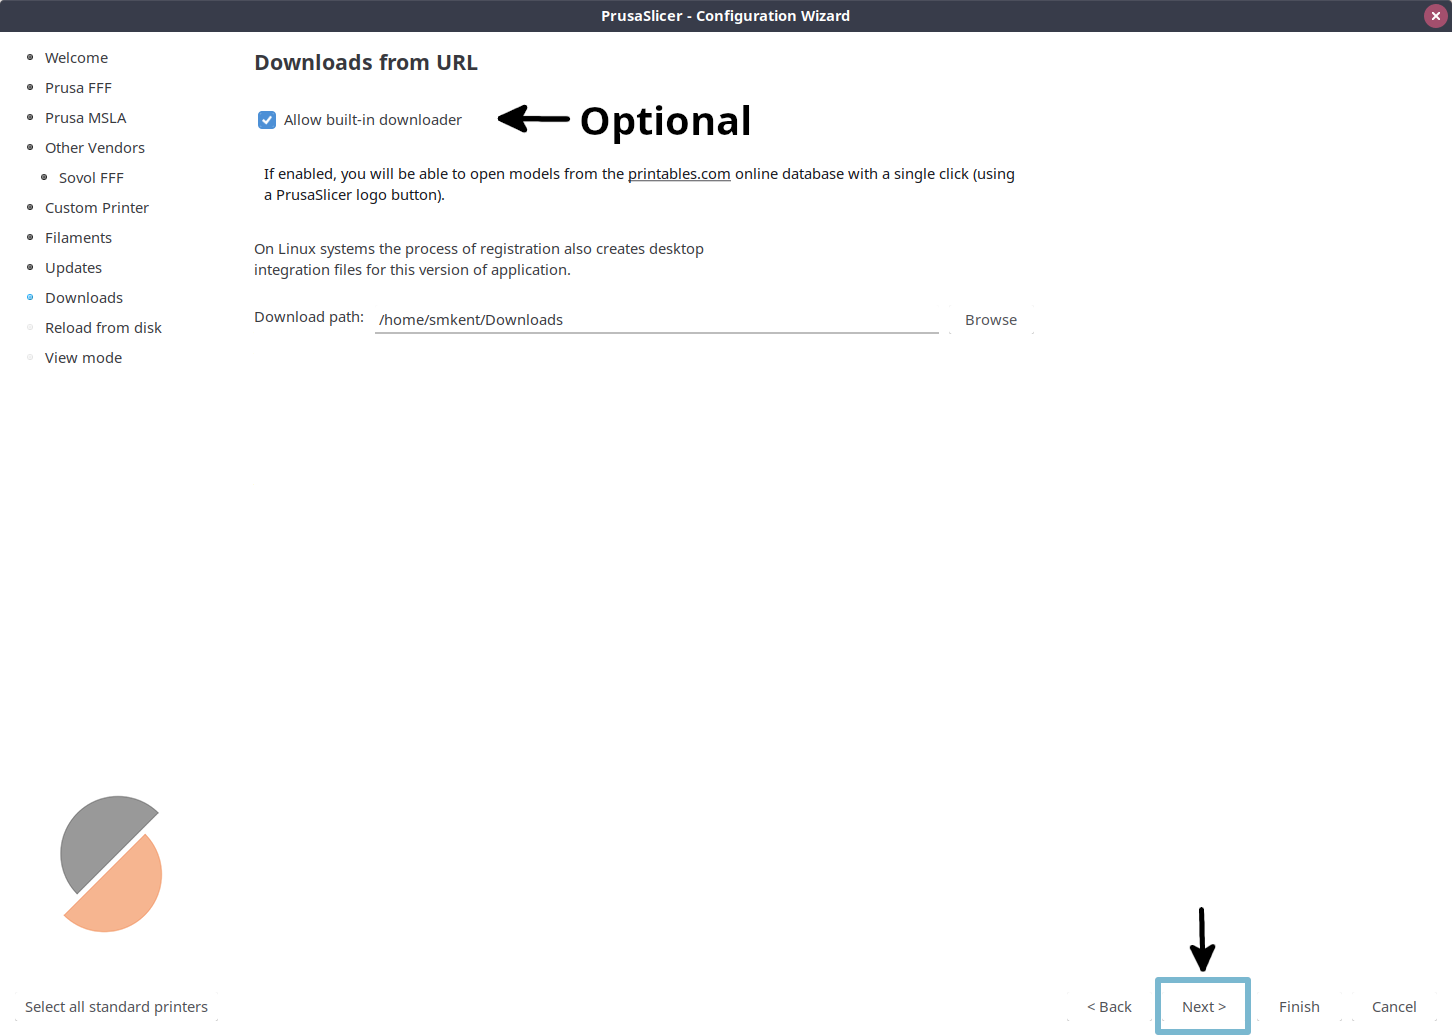
On this page, you can optionally enable PrusaSlicer's browser integration. With this enabled, you can click the PrusaSlicer logo next to a model file on Printables and have it automatically download and open in PrusaSlicer. When finished configuring this feature, click Next.
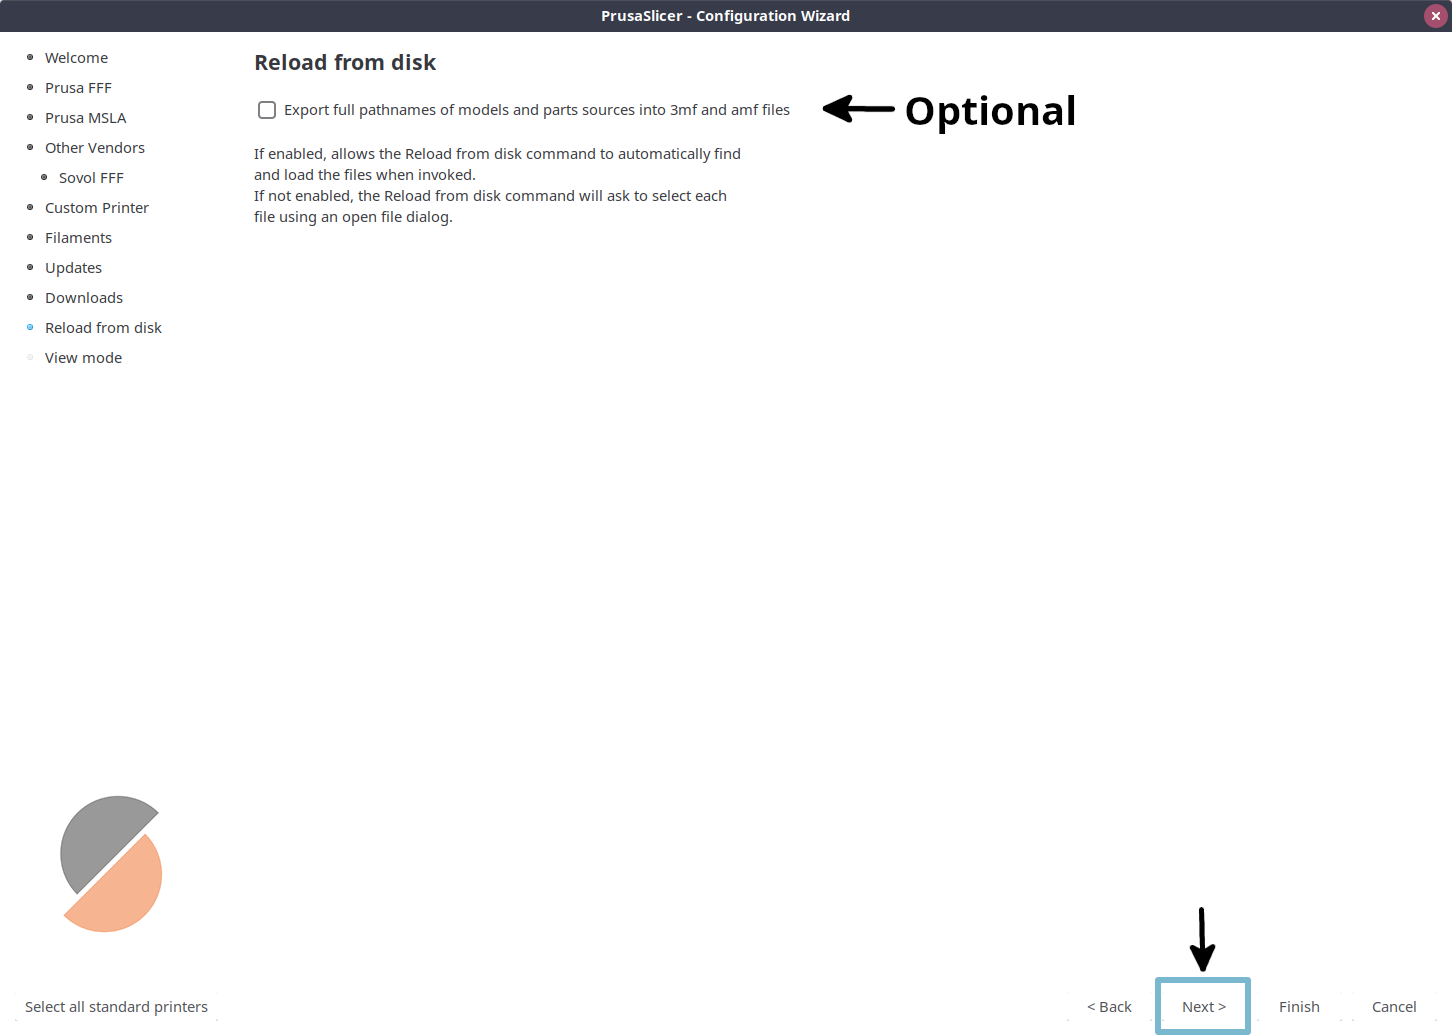
The reload from disk feature makes reloading model files easier while you're developing a new model. Enabling this feature includes full file paths in your saved project files (which would include your username on your local computer). If you plan to share project files on the internet, it's a good idea to leave this disabled (unchecked). After making your choice, click Next.
View mode
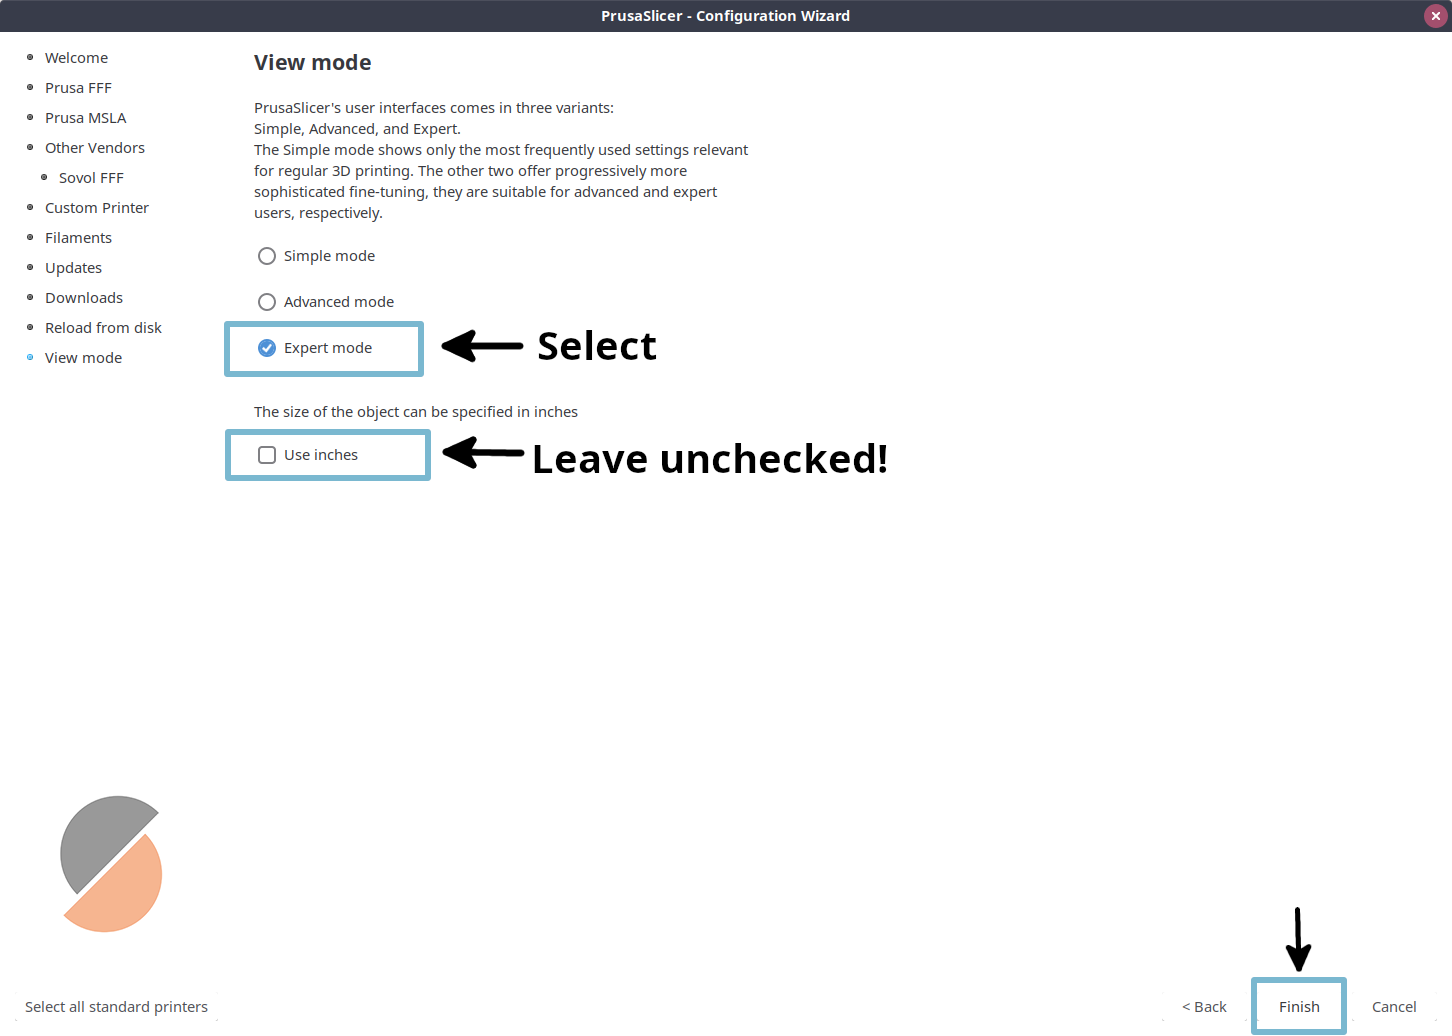
The view mode page is the last configuration wizard page. I recommend setting the view mode to Expert, so all of the options will be visible when preparing a model to print. Simple, advanced, and expert options will have a green, yellow, or red dot next to them when preparing a model in PrusaSlicer.
Finally, I strongly recommend leaving "Use inches" unchecked, so that PrusaSlicer will use millimeters. Nearly all model files on the internet use millimeters for sizing, so using millimeters in PrusaSlicer makes working with 3D models easier.
Click Finish at the bottom to complete the wizard!
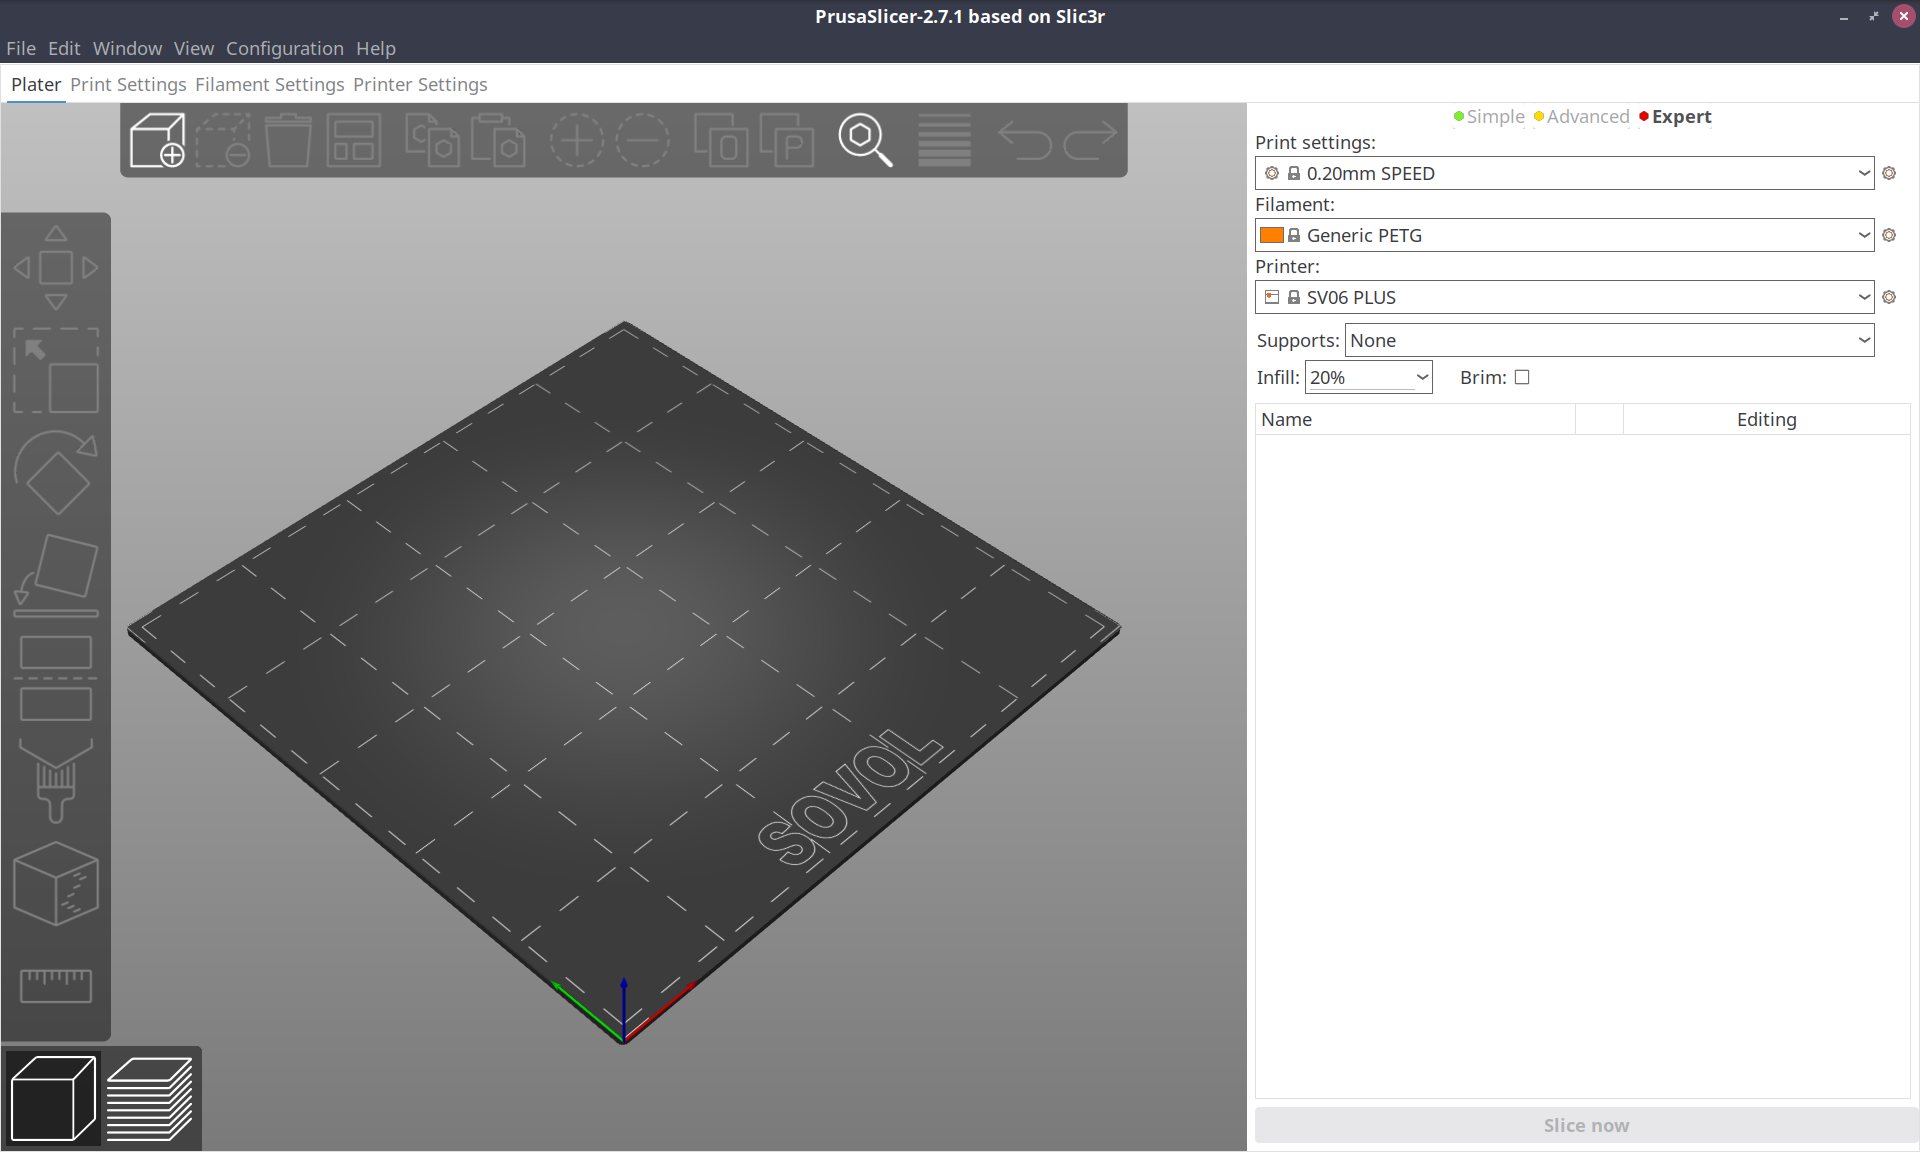
PrusaSlicer now shows the main view. This is where PrusaSlicer will open each time it is run.